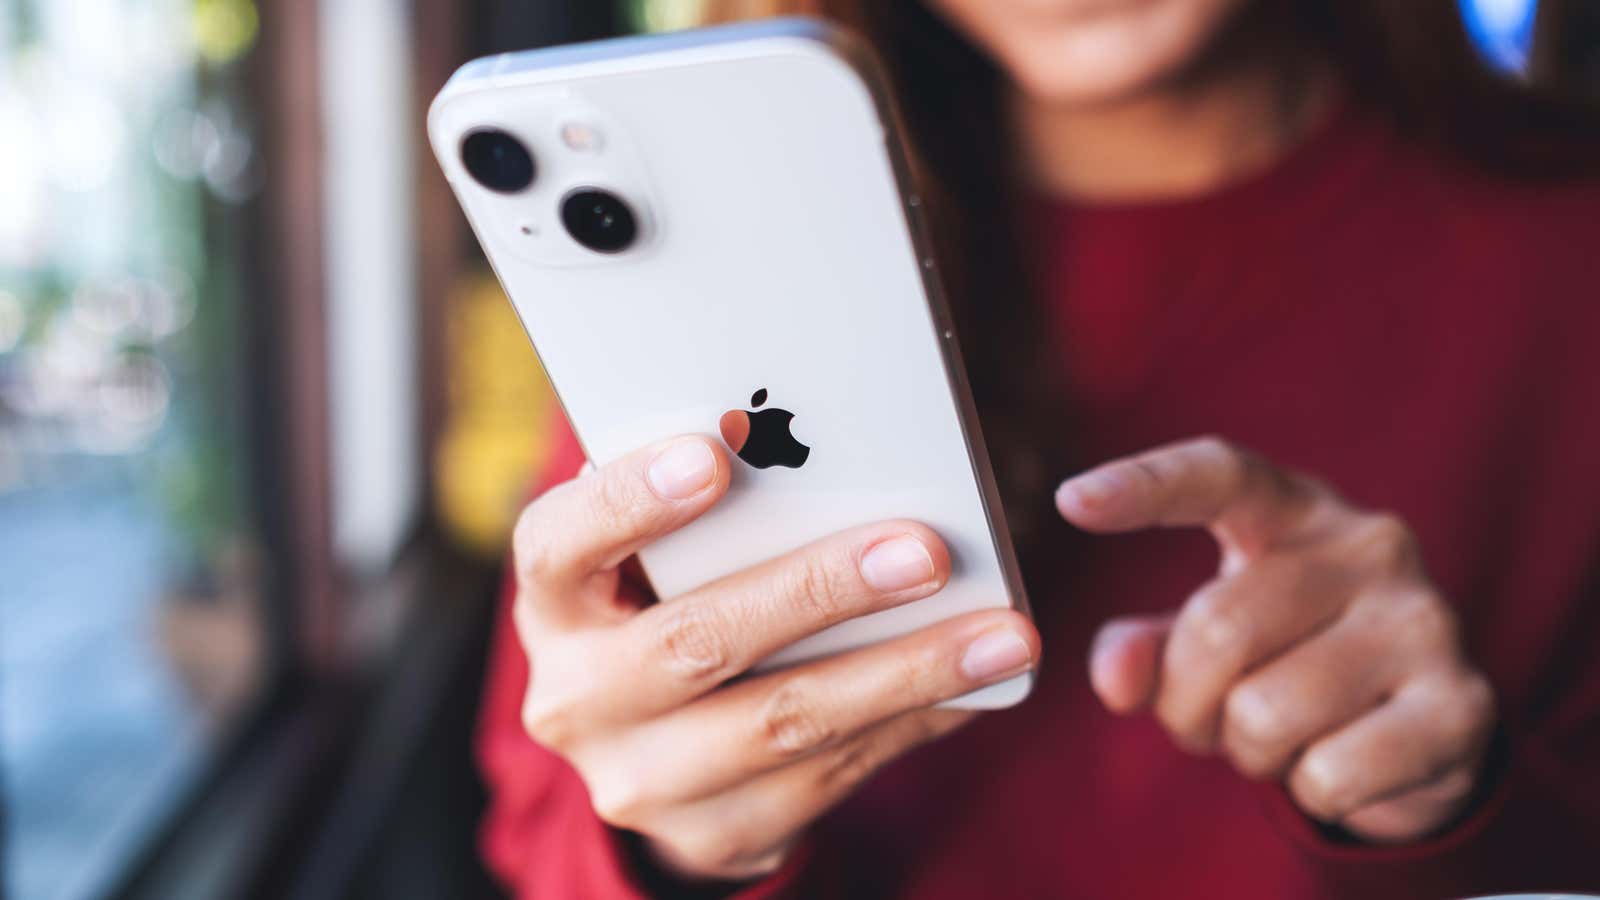
We all take screenshots on our iPhones. Maybe you want to share an Instagram post outside the app; maybe you want to keep receipts in the argument you’re having; maybe you accidentally took a screenshot for the millionth time. Whatever the reason, screenshots are second nature to most iPhone users. But there’s more to screenshots than you’d think. Let’s take a dive into how screenshots work on your iPhone—including some hidden tips and tricks I find particularly useful.
How to take a screenshot on iPhone
You likely know how to take a screenshot on your iPhone, but, just in case, let’s start with the basics: All you need to do to take a screenshot is press the Volume Up and Side buttons together. (If your iPhone still has a Home button, press the Power button and Home button together and release to take a screenshot.)
You can also configure your device to take a screenshot via different means using options in the Accessibility menu; for example, head to Settings > Accessibility > Touch > Back Tap and you can enable taking screenshot via tapping the back of your phone two or three times in quick succession. (Warning: This is likely to exponentially increase your rate of accidental screenshots until you get used to it.)
All the things you can do with screenshot thumbnails
In the past, when you’d take a screenshot on iOS, you’d only see a flash (and, if your sound was on, hear that iconic camera shutter). If you wanted to see your screenshot, you’d have to dive into the Photos app. Since iOS 11, however, a screenshot preview has appeared in the bottom-left corner of the display with every image you capture. Far from a simple glance at what you grabbed, this popup adds a lot of functionality to the screenshot process.
G/O Media may get a commission
The thumbnail previews stick around for around five seconds before automatically disappearing. If you can’t wait that long, you can swipe them away immediately. However, if you tap the preview, you’ll expand it into the screenshot editor (more on that later).
Those are the basics surrounding the thumbnail previews, but there’s more than meets the eye here. If you take another screenshot while the thumbnail is still present, the new screenshot will stack on top of the previous one. You can keep this up as many times as you like; the previews will continue to stack until you stop taking screenshots for that five-second interval to lapse (or you swipe them away).
Whether you have one screenshot in the stack or 20, here’s another tip: If you hold down on the thumbnail previews, you can drag them around your screen. You can drop them anywhere you can typically add an image, such as within a text field, into a note, or into an image uploader. If you need to open another app, just keep one finger (the thumb works great) on the preview image and use a second finger to swipe, scroll, and tap to find the program you need. (I often do this to drag them into iMessage conversations.) Note that when you use the preview in this way, the screenshot won’t be saved to your Photos app, which can help you keep the size of your photo library under control.
But wait, there’s more: If you long-press the thumbnail, then let go, you’ll skip the editor screen and go straight to the share sheet, which lets you send the screenshot anywhere you like. However, if you’ve never used the share function on a screenshot, you might not know this: You can rename the screenshot whatever you like here, rather than deal with the long, boring default name Apple always assigns. Tap “Rename,” plug in whatever name you want, then hit “Submit.”
The screenshot editor is good, actually
So, you tapped the screenshot preview, and now you’re in the editor. Here, you can transform the screenshot as you see fit. Crop it by dragging any of the corners or sides of the screenshot; if you regret a crop, you can either drag the corners in the opposite direction to restore the image or use the undo button at the top of the screen to fix it. If you long-press the undo button, you can choose to undo all edits you’ve made thus far.
Don’t forget: You can zoom-in on the screenshot by pinching, the same way you’d zoom on a photo.
At the bottom of the screen, you’ll see different tools you use to mark up the screenshot. From left-to-right, you have the pen, highlighter, marker, eraser (to erase your mark-ups), lasso (to wrangle any markups and move them freely), ruler (which acts as a digital straight-edge), and a color selector (featuring virtually every color option in the visible light spectrum).
But we’re not done. Tap the (+) on the right side of these tools to see even more tools, including “Description,” which lets you edit the image description; “Text,” which adds a text box to the screenshot; “Signature,” which allows you to add your signature to the screenshot; “Opacity,” which lets you add a white filter over the image; and “Magnifier,” which adds a magnifying circle to part of the image. At the bottom of this submenu, you’ll find four different shapes you can add to the screenshot, including a square, circle, dialogue box, and an arrow.
Markup is enabled by default when opening the screenshot editor, but you can disable it by tapping the marker icon at the top of the screen. When you do, you’ll see the Live Text button in the bottom-right corner, which lets you copy text from the screenshot, translate text, or make instant conversions. To the right of the Markup icon is a trash can, which lets you delete the screenshot currently on screen, and the share icon, which pulls up the same share sheet we discussed earlier.
If you tap “Done” in the top left, you’ll see five options (at least as of iOS 16): “Save to Photos,” “Save to Files,” “Save to Quick Note,” “Copy and Delete,” and “Delete Screenshot.” That second to last option is a game changer, since it lets you copy the screenshot to use elsewhere without saving it to your photo library. If you prefer not to drag and drop the screenshot, this is the option for you.
Tapping “Done” isn’t the only way to exit the editor. If you swipe up from the bottom of the screen (or press the Home button), the screenshot or screenshots will return to their thumbnail previews.